pdf2CAD Help

Overview
pdf2CAD is an AI-powered plugin for AutoCAD and BricsCAD. It converts scans, photos and PDF files into editable CAD elements: lines, arcs, circles, ellipses and text.
Many technical drawings only exist as images. An image consists of pixels (raster) and cannot be edited in CAD. pdf2CAD recognizes the geometry in it and places it as real CAD objects on separate layers. You no longer have to redraw the plan by hand.
Raster or vector? Plain image files and scanned paper drawings are recognized as well, not just PDF: PDF (including multi-page), TIFF, JPG, PNG, BMP and WebP.
Compatibility
AutoCAD
2023, 2024, 2025, 2026, 2027
BricsCAD
V23, V24, V25, V26
Setup
You receive the installation package and your license key directly from us. If you need help with the installation, just get in touch.
After installation you will find a new pdf2CAD tab in AutoCAD or BricsCAD. On first start, a welcome message introduces the most important functions. Enter your license key under Settings.
AI recognition runs locally on your computer. The model files are installed together with the plugin. Loading them may take a moment the first time.
The ribbon
The ribbon provides all key functions. It consists of five panels:

The pdf2CAD ribbon
Import & scale
Import file: Loads an image or PDF file into the drawing as a background.
AI scale detection: Searches the drawing for dimensions and sets the scale from them.
Scale: The input field shows the current scale, for example 1:100. You can also enter it yourself.
Measure scale: Click a known distance in the drawing and enter its true length.
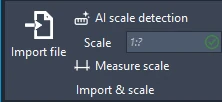
Ribbon panel Import & scale
Recognize
Detect drawing: Recognizes the entire geometry of the plan with AI. First you choose a preset (see Workflow).
Recognize text: Reads the text in the plan (OCR).
Show last result: Reopens the result of the last recognition.
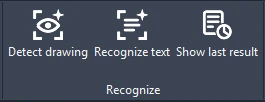
Ribbon panel Recognize
Display
Layers: Shows and hides the layers created by pdf2CAD.
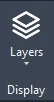
Ribbon panel Display
Text
This is where you define how recognized text looks:
Horizontal / Vertical / Custom: Recognizes text in an area you drag open.
Font size: Choose from common sizes; you can add your own sizes in the settings.
Font: All installed TrueType fonts are available.
Color: Color of the placed text.
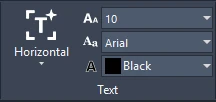
Ribbon panel Text with font size, font and color
Info
Settings: Opens the plugin settings.
Help: Opens this documentation.
About: Information about and contact to the team.
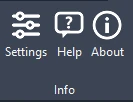
Ribbon panel Info
Workflow
1. Import a file
Click Import file in the ribbon and choose the image or PDF file. The plan appears as a background. Depending on your settings it is slightly transparent, so the new geometry is easy to see later.
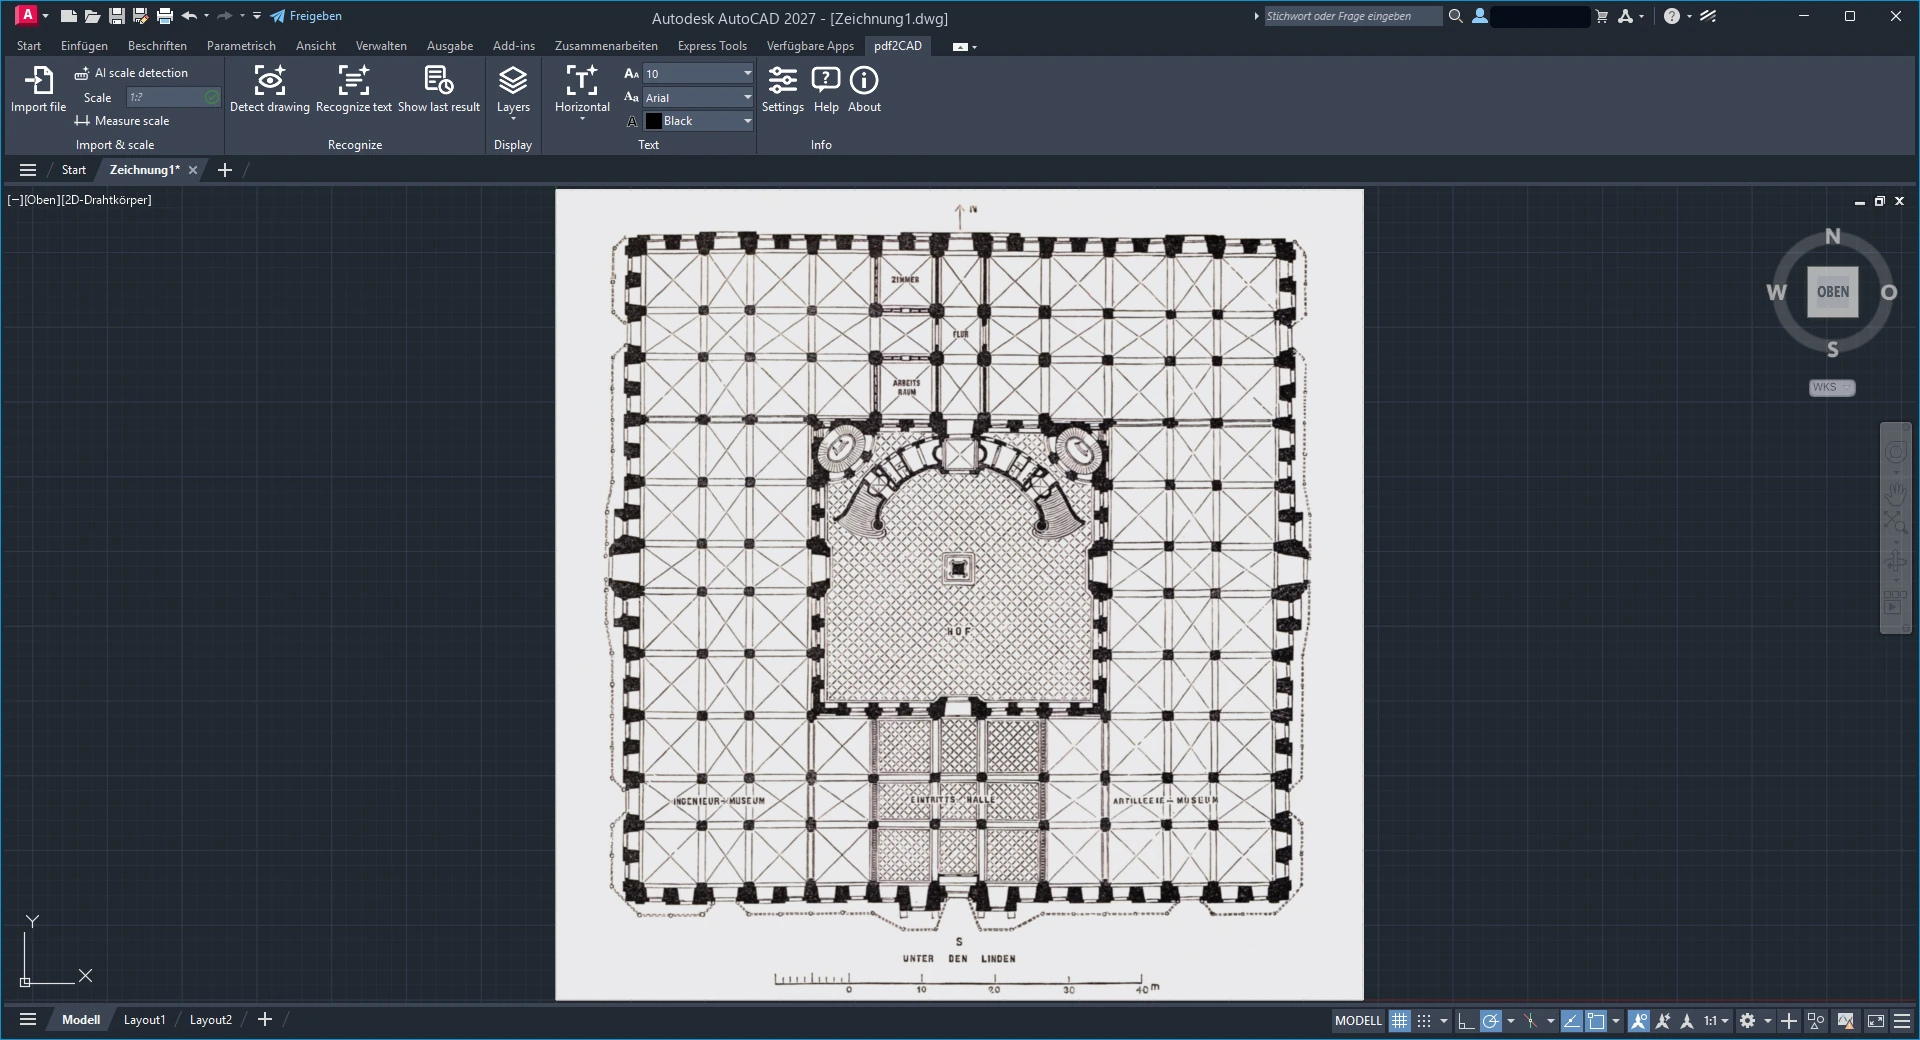
The imported plan in AutoCAD
2. Set the scale
To get a drawing at the correct scale, enter the scale or let pdf2CAD detect it:
AI scale detection determines the scale from dimensions in the plan.
Measure scale: Click a known distance and enter its length.
Alternatively, scale manually: draw a line of known length and use the ALIGN command (first two points on the start and end of the dimension line, skip the third point, confirm scaling).
Important: Automatic scale detection does not work on every plan. Check the result, for example against a dimension.
3. Detect the drawing
Click Detect drawing. A dialog opens in which you choose how thoroughly to recognize:
Fast (approx. 2 min): No AI. For clean, printed CAD plots.
Standard (approx. 6.5 min): AI recognition of the geometry. For scans and sketches.
Complete (approx. 13 min): Also tries to recognize relations, dimensions, leaders and hatches (experimental).
Times are guide values and depend on your computer and the image size.
Click Scan to start. A progress dialog shows the overall progress, the current step, the elapsed time and the estimated remaining time. You can cancel at any time.
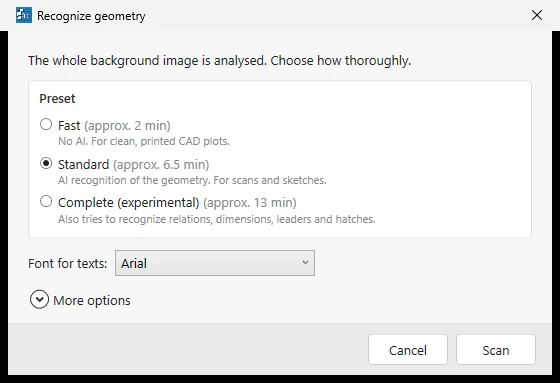
The “Recognize geometry” dialog with the three presets
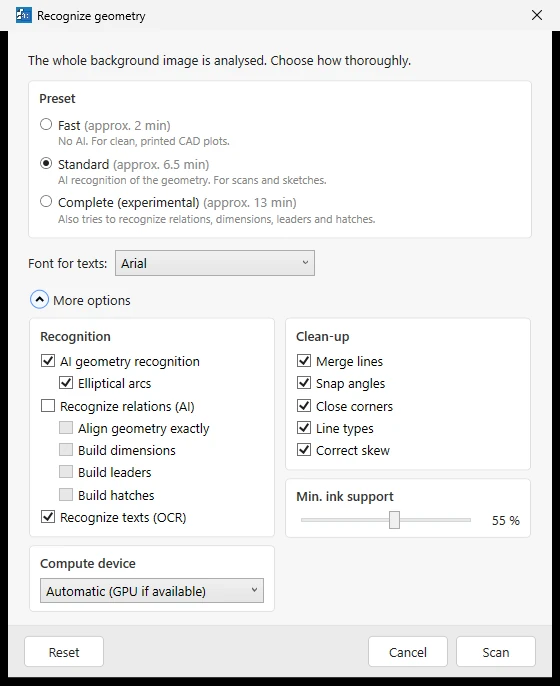
The start dialog with “More options” expanded
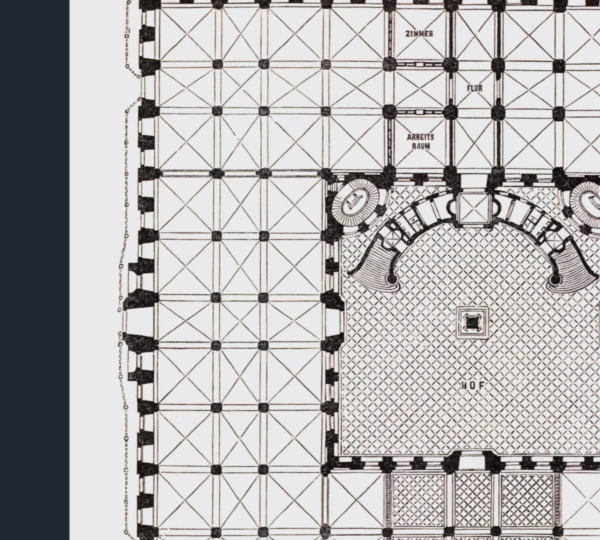
The progress dialog of geometry recognition
More options
Recognition
AI geometry recognition: Recognizes lines, arcs and circles with AI. Optionally elliptical arcs as well.
Recognize relations (AI): Aligns geometry exactly and builds dimensions, leaders and hatches.
Recognize texts (OCR): Reads the text in the plan in the same run.
Clean-up
Merge lines: Joins interrupted lines.
Snap angles: Straightens almost horizontal and vertical lines.
Close corners: Connects line ends at corners.
Line types: Recognizes dashed lines and center lines.
Correct skew: Compensates for a plan that was scanned at a slight angle.
Min. ink support
How much of a line must be covered by dark ink for it to be recognized.
Compute device
Automatic (GPU if available) or CPU.
4. Review and insert the result
When the run is finished, the Recognized geometry sidebar opens. It shows a preview and lists the categories with their count: lines, circles, arcs, ellipses, filled areas and texts.
For each category you set the layer and color.
Use the checkbox to show or hide a category in the preview.
Hover over a category to highlight it in the drawing.
Insert selection adds the selected categories to the drawing as CAD objects. You can remove inserted objects again from the sidebar.
Use Show last result in the ribbon to reopen the sidebar at any time.
Text size: Recognized text is inserted in the font size selected in the ribbon. For very large plans, choose a larger font size beforehand, otherwise the text will appear very small.
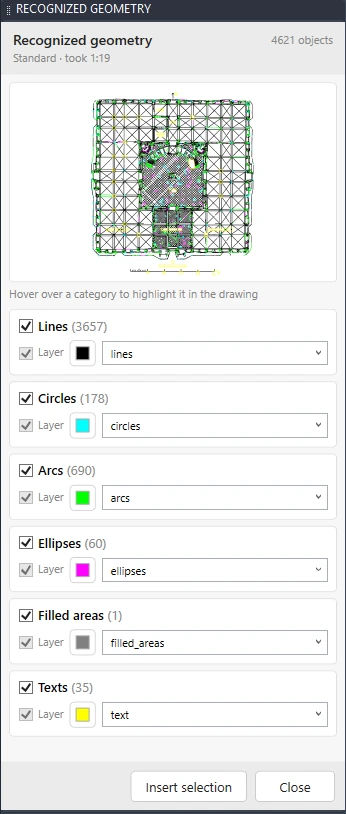
The “Recognized geometry” sidebar
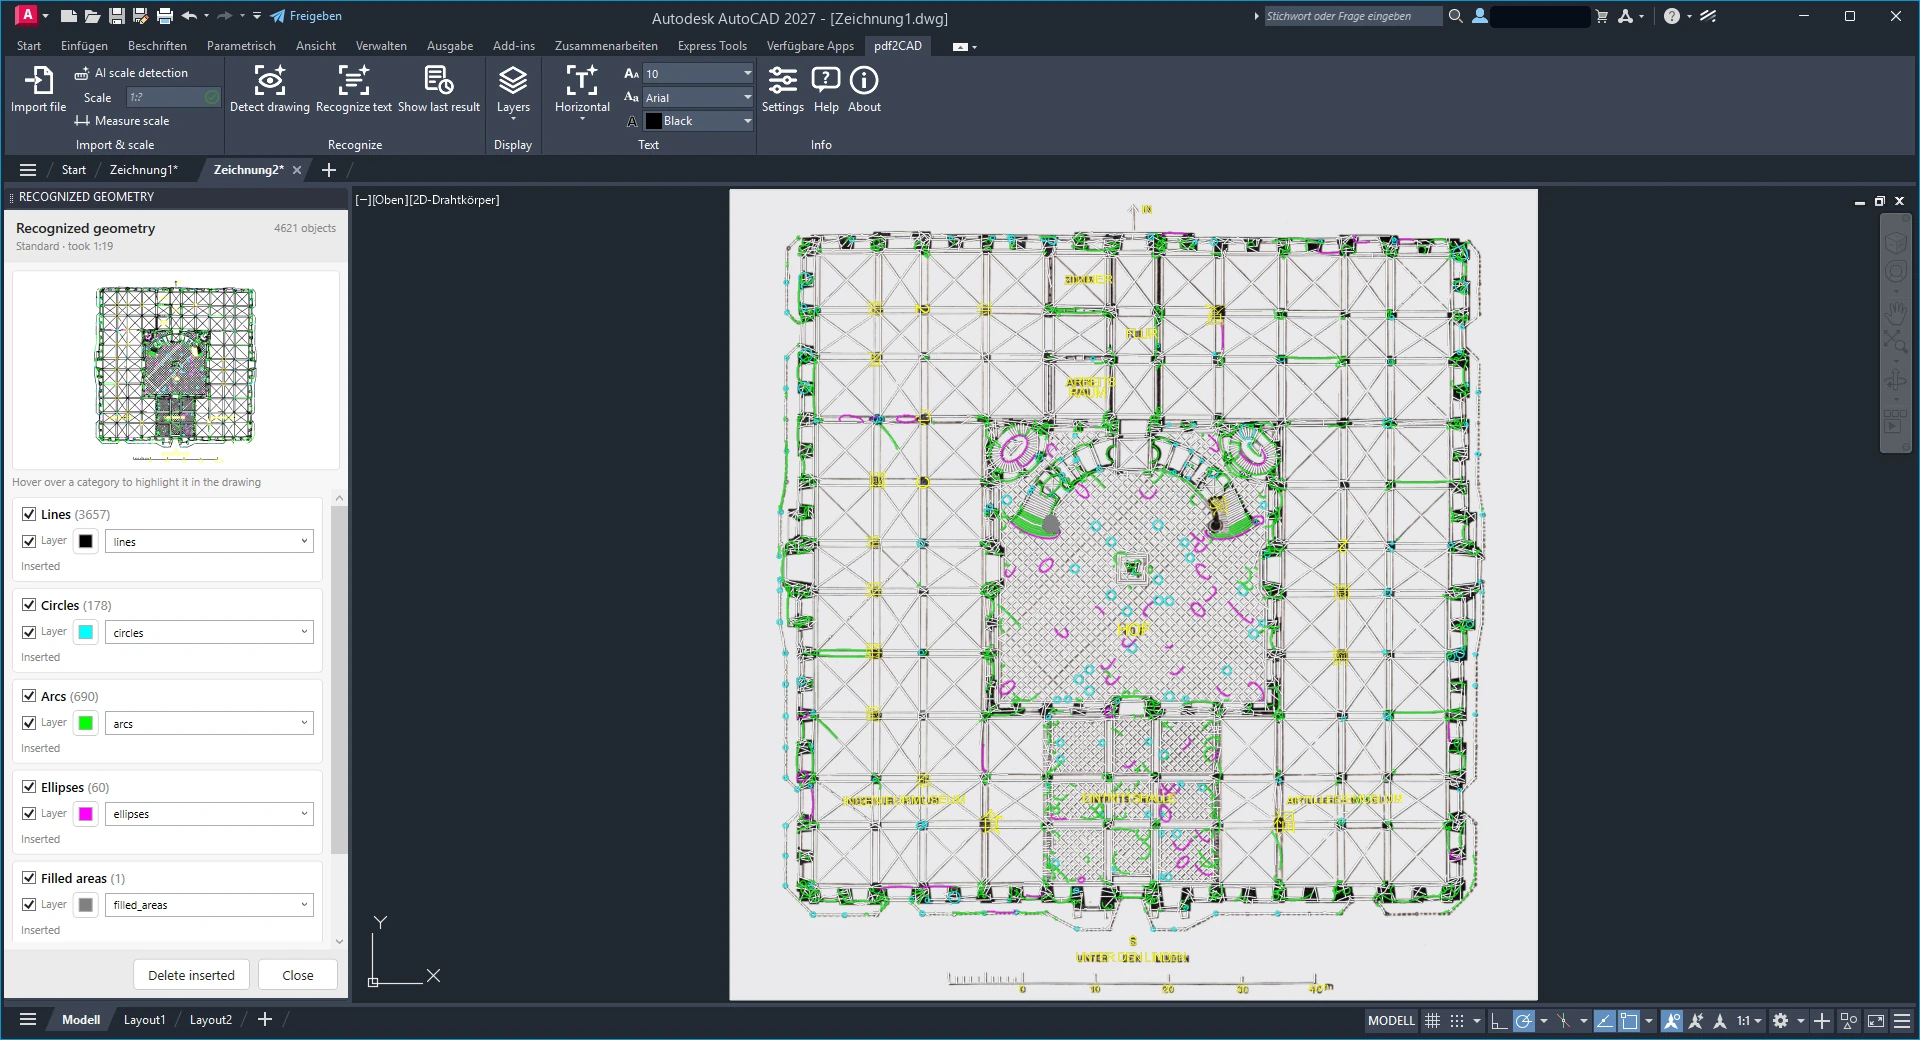
Inserted geometry on top of the scan
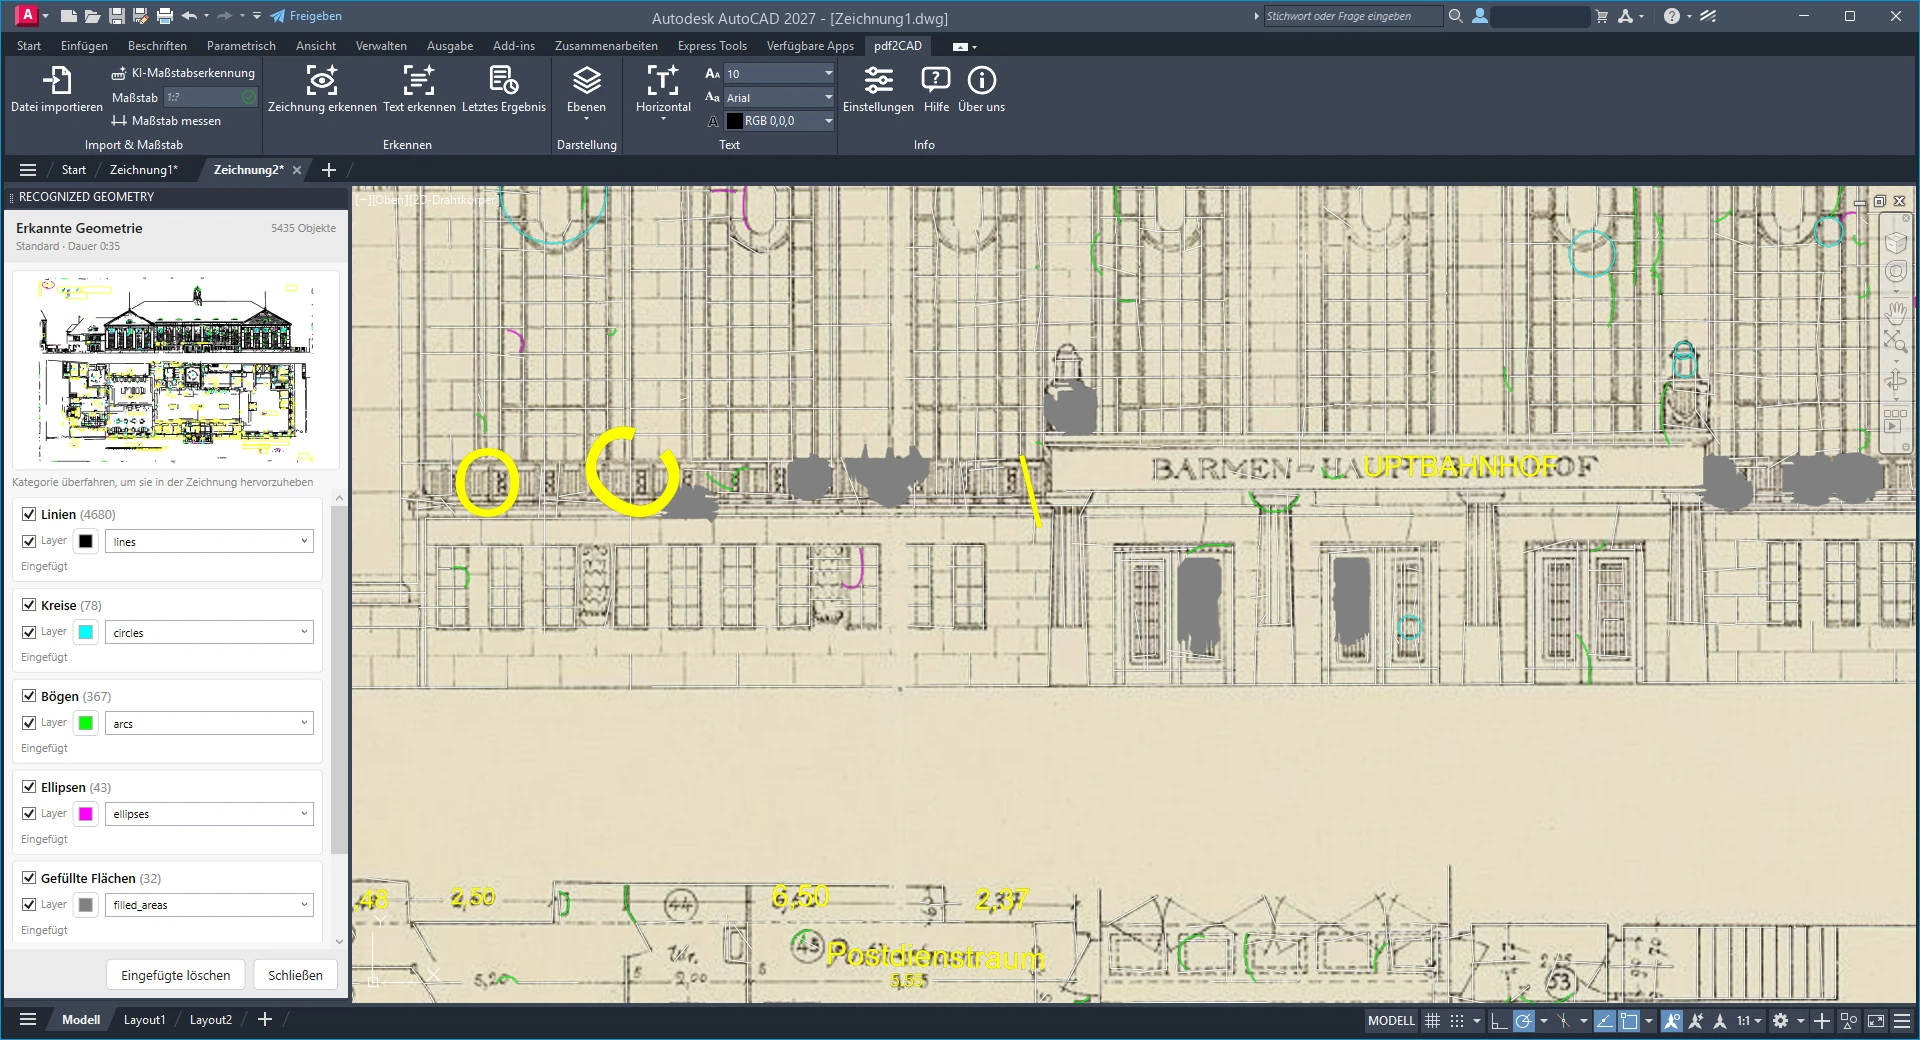
In detail: lines, arcs, circles and text are real objects.
5. Recognize text
There are two ways to recognize text:
Whole drawing: Enable Recognize texts (OCR) in the start dialog. The text then appears in the sidebar as the Texts category.
Individual areas: Choose Horizontal, Vertical or Custom in the ribbon and drag a frame around the text. A dialog then lets you adjust the recognized text and font size. After that, the text hangs on the cursor and can be placed freely.
Good to know: Printed text is recognized reliably. Handwriting is not always read correctly. Check such texts before placing them and correct them in the dialog.
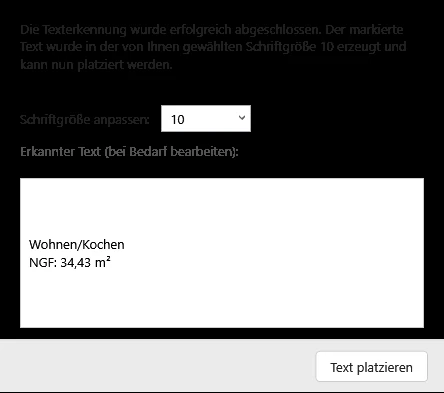
Dialog after successful text recognition
Settings
Click Settings in the ribbon to open the settings dialog.
UI Language: Language of the user interface (German or English). This setting does not affect recognition.
Background transparency (0–100): How transparent the imported plan is. A higher value makes it paler. The change takes effect after the next import.
Font Size Presets: Add or remove your own font sizes. They are then available in the ribbon.
Licensing: Enter your license key and view the activation status.
Reset All Settings: Restores the default values.
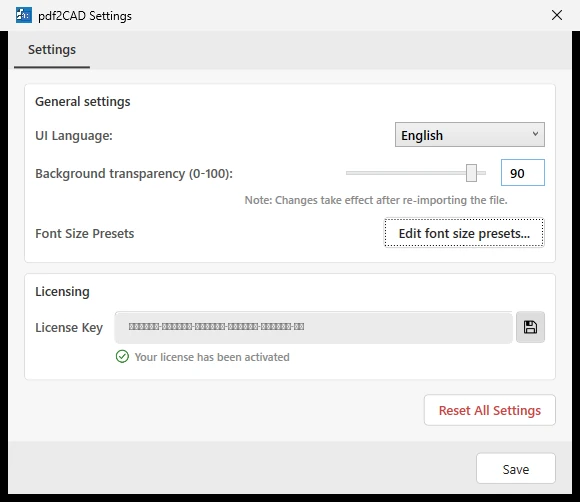
The settings dialog
Tips & FAQ
Which preset should I choose?
Fast for clean, printed CAD plots. Standard for scans, photos and sketches. Complete if you also want relations, dimensions and hatches to be recognized – this takes the longest.
Which file formats can I import?
PDF (including multi-page), TIFF (single page), JPG, PNG, BMP and WebP.
The plan is very large. What helps?
Larger images take longer. The duration depends on the number of pixels and the content, not on the paper size. Stay with “Standard” and allow a few minutes.
Recognition does not start and reports a missing model file.
The AI models are missing from the installation folder. Reinstall the plugin or contact us.
Does everything run locally?
Yes. Recognition runs entirely on your computer; your drawings are not uploaded. An internet connection is only needed for the license check.
Contact & support
Do you have a question or a problem? Write to us – we are happy to help.
Get in touch